
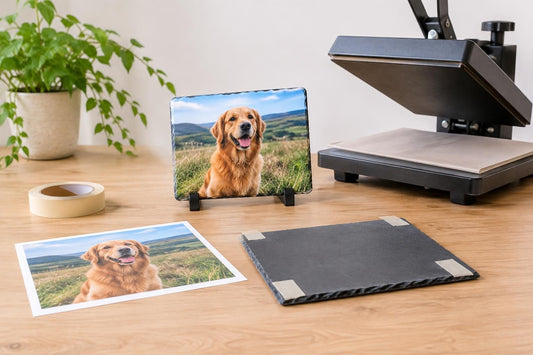
To make personalised slate coasters, you print your design in mirror image onto sublimation paper with a sublimation printer, tape it face down onto a sublimation-coated gloss slate coaster, then heat press it so the ink turns to gas and bonds with the coating. The result is a sharp, permanent photo print on natural slate. Below is the full process, from sizing your artwork to finishing the edges.
What makes sublimation slate coasters different
Natural slate will not take sublimation ink on its own. Sublimation only bonds with polyester or a polymer coating, so blank slate coasters made for sublimation have a white coated face, usually in a gloss or matte finish. Gloss slate gives bright, punchy colours and is a popular choice for photos, while the dark, rustic edges of the slate frame the image nicely.
Slate is also thicker and denser than many other coaster blanks, and it holds heat for a long time. That affects how you set up your heat press and how you handle the coasters after pressing, so it is worth reading through each step before you start.
What you need to make slate photo coasters
- Sublimation slate coaster blanks, such as the Gloss Square Sublimation Slate Mug Coaster 10cm x 10cm
- A sublimation printer loaded with sublimation ink
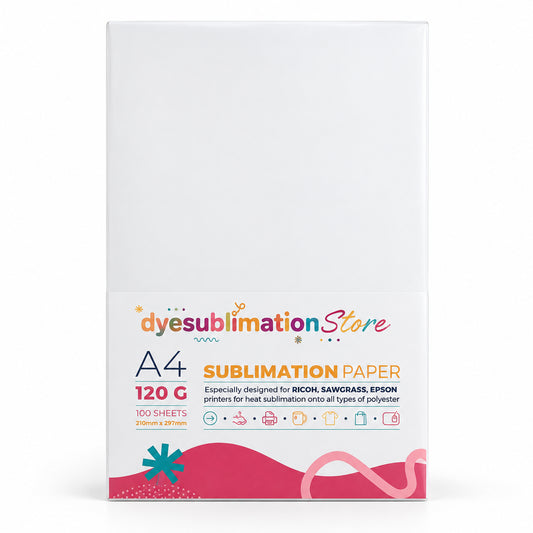
- Sublimation paper, for example Sublimation Paper 100 Sheets - A4 120G
- Heat-resistant tape to hold the print in place, such as Sublimation Heat Tape - 10mm
- PTFE sheets to protect your press and stop ink transferring where it shouldn't, such as PTFE Sheets - Small - 85 x 105cm
- A flat heat press with adjustable pressure
- Heat-resistant gloves and a heat-safe surface for cooling
Step 1: Size your artwork for slate coasters
Measure the printable face of your coaster rather than relying only on its overall dimensions, because natural slate edges are not perfectly uniform. Set your design canvas to match the printable area and add a small bleed of a few millimetres on each side. A bleed means your colour runs right to the edge, so you won't end up with a thin white border if the paper shifts slightly.
Keep important details, such as faces and text, well away from the edges. Work at a good resolution (300dpi at final size is a sensible target) so photos stay crisp on a small surface.
Tips for choosing photos
- Bright, well-lit photos with good contrast print best on gloss slate.
- Very dark images can lose detail, so lift shadows slightly before printing.
- Simple text, names and dates work well alongside a photo for gifts.
Step 2: Print your design in mirror image
Sublimation transfers are pressed face down, so you must mirror (flip horizontally) your design before printing. This matters most with text, which will otherwise come out backwards. Print onto the bright white side of the sublimation paper using your printer's recommended settings, and fit several coaster designs onto one A4 sheet to save paper.
Let the print dry for a few minutes before handling. Damp ink can smudge or cause blurring during pressing.
Step 3: Prepare the slate coaster
Remove any protective film from the coated face if there is one. Wipe the surface with a lint-free cloth to remove dust, as specks trapped under the paper can leave small marks. Avoid touching the coated area with greasy fingers.
Trim your printed design, leaving enough paper around it to tape down. Place it face down on the coated surface, line it up carefully, and secure it with heat tape on at least two sides so it cannot move when the press closes.
Step 4: Press your slate coasters
Always start with the time, temperature and pressure recommended for your specific slate blank, as coatings and thicknesses vary between products. Because slate is thick, you will usually need to adjust the height of your press so it closes with firm, even pressure without forcing it.
- Pre-heat your press to the recommended temperature.
- Place a PTFE sheet on the lower platen, then the slate coaster with the coated face and transfer facing up or down as advised for your blank and press.
- Cover with another PTFE sheet or a piece of plain paper to catch any excess ink.
- Close the press and time the transfer as recommended.
- Open the press carefully. The slate will be very hot.
If it is your first batch, do a single test coaster before pressing a full set. That lets you check colour, sharpness and coverage before committing more blanks.
Step 5: Peel, cool and finish
Wearing heat-resistant gloves, move the coaster to a heat-safe surface. Peel the paper away in one smooth motion; lifting slowly or letting it slide can cause ghosting. Leave the slate to cool fully on a flat surface, as it holds heat much longer than ceramic or MDF.
Once cool, check the edges. Many crafters add small felt or cork pads to the underside so the coasters won't scratch tables.
Troubleshooting common slate coaster problems
- Faded or dull colours: usually too little time, heat or pressure, or the wrong printer settings. Check your settings against the blank's guidance.
- Blurry or doubled image (ghosting): the paper moved. Use more heat tape and peel cleanly.
- Patchy areas: uneven pressure, often because the press wasn't adjusted for slate's thickness.
- Brown or yellow tinge: often a sign of too much heat or time. Reduce slightly and test again.
- White edges: not enough bleed, or the design was placed off-centre.
Ideas for personalised slate coasters
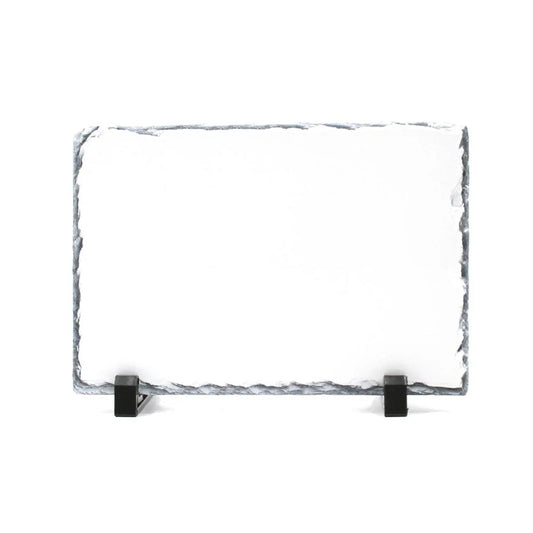
Slate photo coasters make thoughtful gifts for weddings, anniversaries, new homes and memorials. You could press a matching set of four family photos, add a pet portrait with a name, or create branded coasters for a café or pub. If you enjoy working with slate, larger photo slates are a natural next step for keepsake displays.
Get started with your own slate coasters
Making slate coasters is straightforward once you have the right blanks and a reliable routine: size with bleed, mirror your print, tape it securely, press with even pressure and let it cool. Browse Dye Sublimation Store for gloss slate coaster blanks, sublimation paper, heat tape and PTFE sheets, and you'll have everything you need for your first personalised set.
Tags:
Related articles
-
Nov 15 2026
How to Print Photos onto Slate at Home Without Ghosting

-
Nov 12 2026