
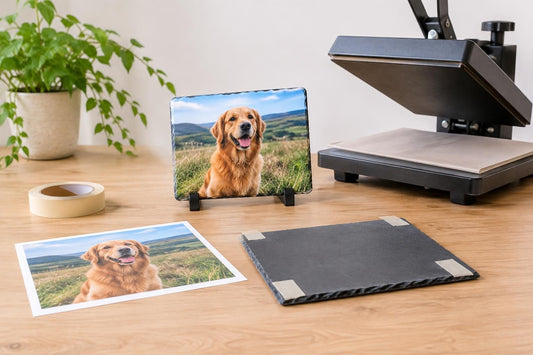
Sublimation printing is a way of transferring a design onto a specially coated or polyester-based item using heat and pressure. You print your design onto sublimation paper with sublimation ink, then heat it against a blank such as a mug or coaster. The heat turns the ink into a gas that bonds with the coating, so the image becomes part of the surface rather than sitting on top of it. The result is a bright, durable print that won't peel or crack like a sticker or vinyl.
How Sublimation Printing Works
The word "sublimation" describes a solid turning straight into a gas without becoming a liquid first. In sublimation printing, the ink on your transfer paper does exactly that when it's heated. Under pressure, that gas is drawn into the polymer coating on a hard blank, or into the polyester fibres of a fabric item. As it cools, the ink sets back into a solid, locked inside the surface.
Because of this, sublimation only works on materials that can accept the dye. That means:
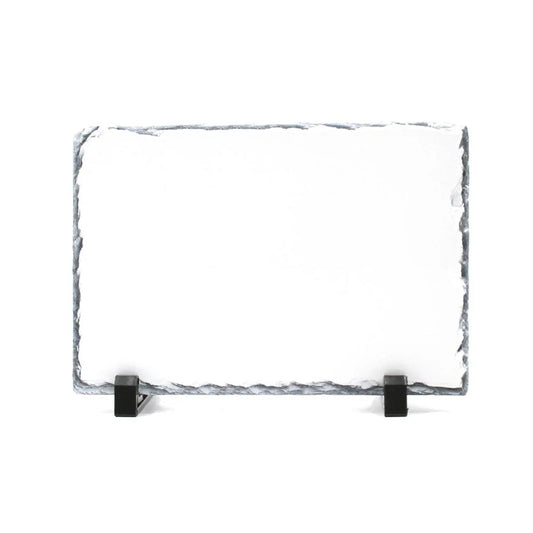
- Hard blanks with a sublimation coating, such as ceramic mugs, slates, glass coasters and metal tins.
- Polyester or polyester-blend fabrics, including many linen-look and faux burlap items made for sublimation.
- White or light-coloured print areas, since sublimation ink is transparent and there's no white ink to print on dark backgrounds.
A standard uncoated mug from the supermarket or a 100% cotton T-shirt won't hold a sublimation print, which is why buying proper sublimation blanks matters.
What You Need to Get Started with Sublimation Printing
A basic sublimation setup is fairly simple. Most beginners start with:
- A sublimation printer and sublimation ink – either a dedicated sublimation printer or a converted inkjet that has only ever used sublimation ink.
- Sublimation paper – designed to hold the ink on the surface and release it cleanly under heat.
- A heat press – a flat press for coasters, slates and fabrics, and a mug press (or a combination press with a mug attachment) for drinkware.
- Heat-resistant tape – to hold your transfer in place.
- PTFE sheets – to protect your press and your item.
- Sublimation blanks – the items you'll print on.
Sublimation Printing Step by Step
1. Create and size your design
Design in any graphics software you're comfortable with. Measure your blank's printable area and size your artwork to match, leaving a little bleed at the edges where a full wrap is needed. Bear in mind that colours on screen can look different once pressed, so a test print on a spare blank is worth the effort.
2. Mirror and print
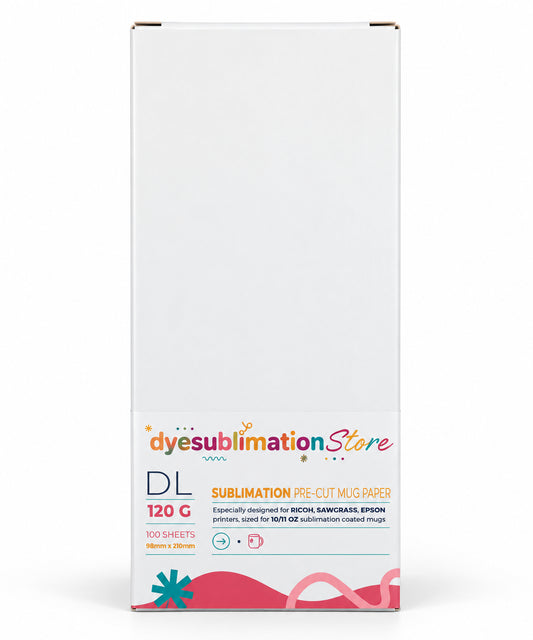
Always mirror your design before printing, because it will be flipped when transferred. Print onto the bright white side of the sublimation paper. Good paper, such as our Sublimation Paper 100 Sheets - A4 120G, helps give crisp detail and a clean release. Freshly printed sheets can look dull and faded; that's normal, and the colours come alive when heated.
3. Trim and position the transfer
Cut the paper close to your design so there's less excess to secure. Place the printed side face down against the blank. For mugs, wrap it snugly around the body so there are no gaps between the paper and the surface, as gaps can cause blurry or ghosted areas.
4. Secure with heat tape
Use heat-resistant tape to stop the paper moving during pressing. Even a slight shift can create a shadow effect known as ghosting. A narrow tape like our Sublimation Heat Tape - 10mm holds the transfer firmly without covering much of the design, and it peels away cleanly afterwards. Tape the edges and the seam on mugs, keeping tape off the printed area where possible.
5. Protect with a PTFE sheet
A PTFE sheet sits between the heat platen and your item. It stops stray ink transferring onto your press, prevents scorching on fabrics, and keeps everything clean between jobs. Sheets like our PTFE Sheets - Small - 85 x 105cm can be cut to fit your press and reused many times. On fabric items, it's also wise to put a sheet of protective paper inside, between layers, so ink doesn't bleed through to the back.
6. Press using the right time and temperature
Every blank and press is slightly different, so follow the time, temperature and pressure guidance for your specific item and machine. Ceramics generally need longer than thin fabrics. Make sure your press has fully reached temperature before you start, and apply even pressure across the whole item.
7. Remove and reveal
Hard blanks will be extremely hot when they come out of the press, so wear heat-resistant gloves. Peel the paper off promptly and in one smooth movement to reduce the risk of ghosting, then let the item cool on a heat-safe surface.
Choosing Your First Sublimation Blanks
Mugs are the classic starting point for sublimation printing. A plain white mug like our 11oz White AAA Sublimation Mugs gives you a large, clear print area and makes it easy to judge colour accuracy while you're learning. Once you're confident, coloured inner-and-handle mugs, photo slates, coasters, tea towels and cushion covers are good next steps, each with their own small quirks to master.
Common Beginner Mistakes to Avoid
- Forgetting to mirror – text will come out backwards.
- Printing on the wrong side of the paper – the ink won't release properly.
- Loose transfers – causes ghosting and blurred edges.
- Uneven pressure – leaves pale or patchy areas.
- Using non-sublimation blanks – the design simply won't bond.
- Skipping protection – without a PTFE sheet, ink can build up on your press and transfer onto later jobs.
Ready to Try Sublimation Printing?
Sublimation printing has a short learning curve, and a few practice runs will teach you more than any guide. Start with simple designs on white blanks, take notes on what works with your press, and build up from there. When you're ready to stock up, browse the paper, heat tape, PTFE sheets and wide range of blanks at Dye Sublimation Store to get everything you need in one place.
Tags:
Previous
Coaster Ideas: Ceramic, MDF, Glass and Slate Blanks Compared
Next
Photo Slate Gifts: How to Choose the Right Size and Finish
Related articles
-
Nov 16 2026
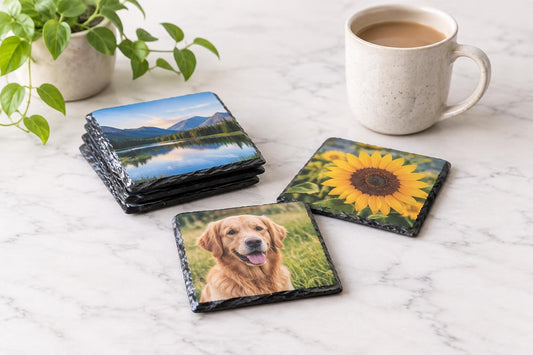
Slate Coasters: How to Make Personalised Photo Coasters
-
Nov 15 2026
How to Print Photos onto Slate at Home Without Ghosting

-
Nov 12 2026