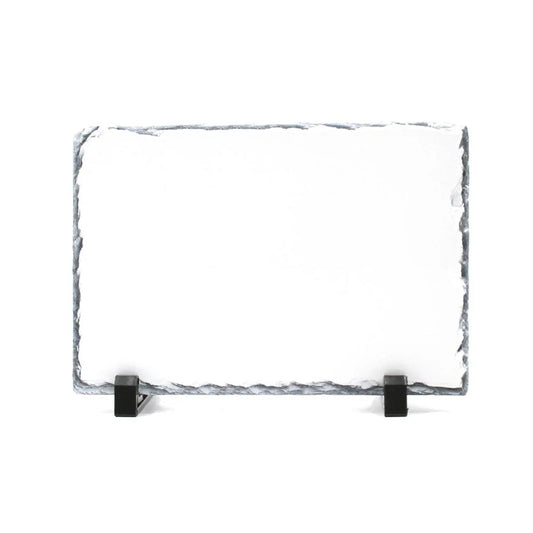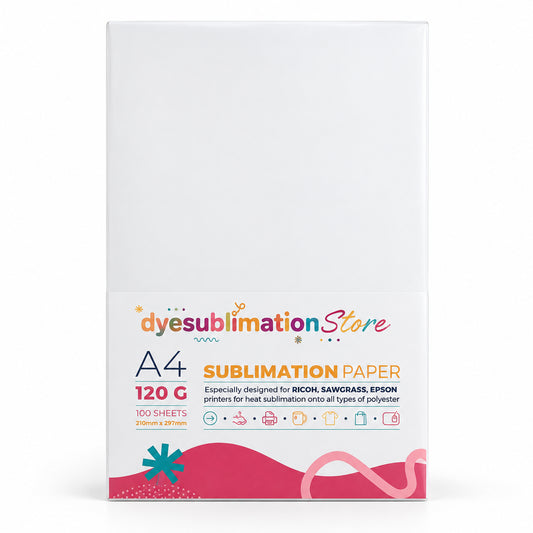

To print photos onto slate at home, you need a sublimation-coated slate, a sublimation printer with sublimation ink, sublimation paper, heat-resistant tape and a flat heat press. Print your photo mirrored, tape it face down onto the white coated area, press at the time and temperature recommended for your slates, then lift the paper away cleanly. Most blurry or doubled images, known as ghosting, happen because the paper moved, so secure taping and careful handling make the biggest difference.
What you need to put photos onto slate
Ordinary slate will not take a sublimation print. Sublimation ink bonds with a polymer coating, so you need slates made for the job, with a white coated printing area. Here is a simple kit list:
- A sublimation photo slate, such as the Gloss Sublimation Photo Slate Rectangle 14cm x 19cm. Gloss finishes give rich, vivid colour; matte finishes reduce glare if the slate will sit near a window.
- Sublimation paper, for example Sublimation Paper 100 Sheets - A4 120G. Standard printer paper will not release the ink properly.
- A sublimation printer loaded with sublimation ink.
- Heat-resistant tape like Sublimation Heat Tape - 10mm to hold the transfer still.
- A flat heat press. A household iron cannot deliver even heat and pressure across a heavy slate.
- Heat-resistant gloves, because slate holds heat for a long time.
- Protective paper or a sheet to cover the slate during pressing, and a lint-free cloth.
Preparing your photo for slate
Choose the right image
Slate has a natural, slightly uneven surface and rustic edges, which suits portraits, pets, landscapes and wedding photos. Use the highest resolution image you have. Photos taken in good light with clear contrast tend to look best, as the slate texture can soften very fine detail.
Size it to the printable area
Measure the white coated area on your slate rather than the whole stone. Size your image so it fills that area with a small bleed of a few millimetres past the edge, which helps avoid a thin unprinted line if the paper sits slightly off-centre.
Mirror the image
This is the step people forget most often. Because the paper goes face down onto the slate, the image transfers in reverse. Turn on the mirror or flip horizontal option in your design software or printer settings, especially if your photo includes any text, names or dates.
Print in the right mode
Print on the bright white side of the sublimation paper, using the settings and colour profile suited to your printer and ink. The print will look dull and faded on the paper; that is normal. Colours brighten once heat turns the ink into a gas and it bonds with the coating.
How to transfer photos onto slate step by step
- Clean the slate. Wipe the coated area gently with a lint-free cloth to remove dust. Any specks trapped under the paper can show up as marks.
- Remove moisture from the paper. Damp paper can cause blotchy patches, so store it somewhere dry and flat.
- Position the transfer. Place the printed side face down on the coated area and check it is straight.
- Tape it securely. Use heat tape on at least two sides, ideally all four, wrapping the tape round to the back of the slate where possible. This is your main defence against ghosting.
- Set up the press. Follow the temperature, time and pressure guidance supplied for your particular slates, as these vary by size, thickness and coating. Slate is thick and not perfectly flat, so you may need to adjust the pressure so the press closes firmly without forcing it.
- Protect the press. Place a protective sheet above the transfer so any escaping ink does not mark your heat platen.
- Press. Close the press and let it run for the full recommended time.
- Open and remove carefully. Wearing gloves, open the press and lift the slate out keeping it level. Peel the paper away in one smooth movement rather than letting it slide.
- Cool on a heat-safe surface. Leave the slate face up to cool completely before handling without gloves.
Why ghosting happens when printing photos onto slate
Ghosting is a faint second image or blurred outline next to the main print. It happens when the paper shifts while the ink is still in its gas state, so it transfers a little in the wrong place. Common causes include:
- Too little tape, letting the paper lift or slide.
- Opening the press too quickly or at an angle, which can pull the paper.
- Moving the slate before removing the paper, while it is still very hot.
- Peeling slowly or letting the paper drag across the surface.
- Uneven pressure, allowing parts of the paper to float.
To avoid it, tape generously, open the press smoothly, and remove the paper promptly in a single lift. A pair of Heat Resistant Gloves makes it much easier to handle the slate confidently at this stage instead of rushing.
Troubleshooting faded or patchy slate prints
- Faded colours: the time or temperature may be too low, or the paper was printed on the wrong side.
- Patches with no print: uneven pressure or a slight dip in the slate surface. Try adjusting pressure or using a pressing pad.
- Brownish or yellow tinge: often a sign of too much heat or too long a press.
- Reversed text: the image was not mirrored before printing.
Safety and finishing touches
Slate is heavy and stays hot well after pressing, so always use gloves and keep children and pets away from your work area. Once cool, add a stand, easel or hanging fixing to display it. Sublimated slates are best kept indoors and wiped gently with a soft, dry cloth.
Ready to put your photos onto slate?
With the right slate, paper and tape, printing photos onto slate is a straightforward project that makes memorable personalised gifts. Browse the photo slates, sublimation paper, heat tape and gloves at Dye Sublimation Store to gather everything you need for your first ghost-free print.
Tags:
Previous
Personalised Tobacco Tin Ideas: Design and Press Your Own
Next
Slate Coasters: How to Make Personalised Photo Coasters
Related articles
-
Nov 16 2026
Slate Coasters: How to Make Personalised Photo Coasters

-
Nov 12 2026