
The essential dye sublimation supplies, beyond the printer itself, are sublimation ink, sublimation paper, a heat press (or mug press), heat-resistant tape, protective PTFE sheets, heat-resistant gloves and sublimation-ready blanks. Get those seven things right and you can produce clean, vibrant, permanent prints from day one. Below is a practical checklist explaining what each item does, why it matters and what to look for when you buy.
Why the printer is only the beginning
Dye sublimation works by printing a design onto special paper with sublimation ink, then using heat and pressure to turn that ink into a gas that bonds with polyester fibres or a polymer coating. Every part of that chain affects the result. A brilliant printer paired with the wrong paper, loose transfers or uncoated blanks will still give you faded, blurry or ghosted prints. That is why it pays to think of your dye sublimation supplies as a complete system rather than a list of extras.
The dye sublimation supplies checklist
1. Sublimation ink
Your printer needs dedicated sublimation ink, not standard inkjet ink. Ordinary ink sits on top of a surface, whereas sublimation ink is designed to become a gas under heat. Printed designs often look dull on paper; that is normal, and the colours come alive once pressed. If you can, use the colour profile (ICC profile) recommended for your ink and printer so colours print as expected.
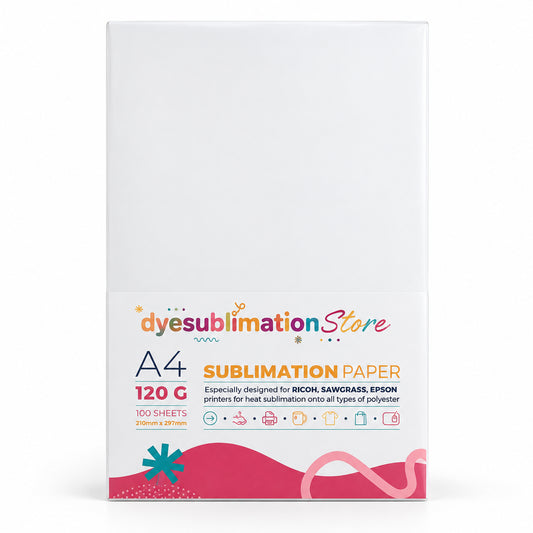
2. Sublimation paper
Sublimation paper has a coating that holds the ink on the surface rather than soaking it in, so as much ink as possible is released onto your blank. Plain copier paper absorbs too much ink and gives weak results. For most beginners, a pack of A4 sublimation paper covers coasters, slates, tote bags, cushion covers and other flat items. Always print on the coated side, which is usually the brighter white side, and print your design mirrored so it reads correctly once transferred.
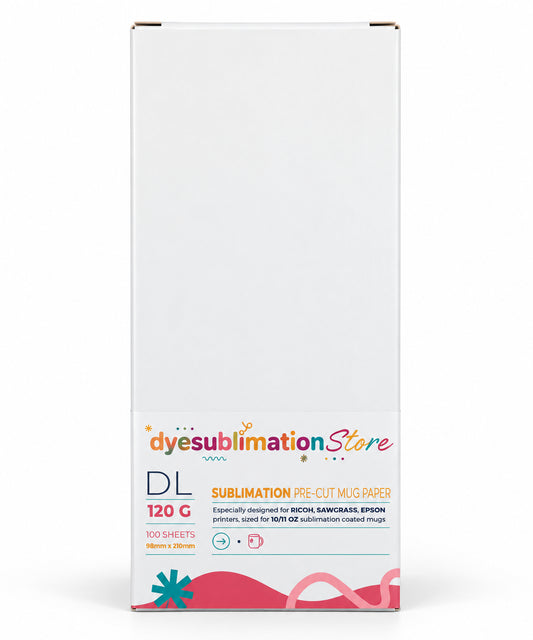
If mugs will be a big part of your range, pre-cut mug paper sized to wrap around a standard mug saves trimming time and reduces waste.
3. A heat press or mug press
You need a press that can hold a steady temperature and apply even pressure for a set time. A flat press suits textiles, coasters, slates and chopping boards, while mugs and tumblers need a mug press or a suitable attachment. Whatever you choose, follow the time, temperature and pressure guidance for each blank, as these vary between materials.
4. Heat-resistant tape
If your transfer paper moves even slightly during pressing, you get ghosting: a faint double image that ruins the item. Sublimation heat tape holds the paper firmly in place without melting or leaving sticky residue. It is especially important on mugs, bottles and tumblers, where paper is wrapped around a curved surface and can easily shift. Narrow tape is easy to position and keeps the tape away from your design area.
5. PTFE sheets
PTFE (Teflon-type) sheets sit between your press and your project. They protect the heat platen from stray ink, stop ink bleeding through onto the press and help spread heat evenly. They are reusable, so a single sheet lasts a long time if kept clean. Choose a size that covers your press platen comfortably; the small PTFE sheet is a sensible starting point for many home presses, and it can be cut down if needed. Many sublimators also place a sheet of plain protective paper inside fabric items to stop ink passing through to the back layer.
6. Heat-resistant gloves
Freshly pressed mugs, slates and metal items are extremely hot, and you often want to remove the paper quickly to avoid ghosting. A pair of heat-resistant gloves lets you handle blanks safely straight out of the press. This is one item beginners often skip and quickly regret.
7. Sublimation blanks
Sublimation only works on polyester fabrics or items with a special polymer coating. That is why you cannot simply press onto any mug from a supermarket. Sublimation blanks are made specifically to accept the ink. Popular starter blanks include:
- White ceramic mugs, the classic first product and an easy seller.
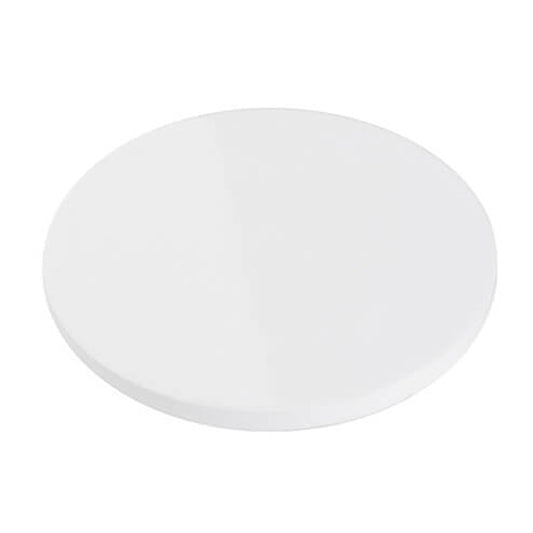
- Coasters in ceramic, glass or MDF with cork backing.
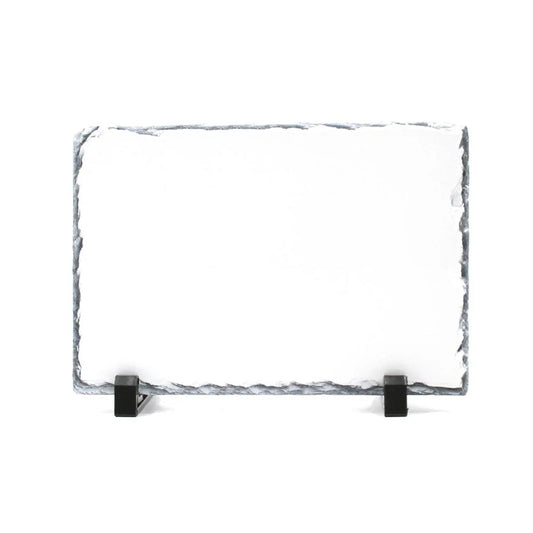
- Photo slates, which make striking personalised gifts.
- Linen-look textiles such as tote bags, tea towels, aprons and cushion covers.
- Seasonal items like Christmas decorations, stockings and Santa sacks.
White or light-coloured surfaces give the best results, because sublimation ink is transparent and does not print white.
Useful extras once you are up and running
These are not strictly essential, but most sublimators end up adding them to their kit:
- Lint roller to remove fibres and dust from fabrics before pressing, which prevents small blue specks.
- Plain protective or butcher paper to absorb excess ink and protect your press.
- Heat-resistant mat to set hot items down safely.
- Craft knife and cutting mat for trimming transfers neatly.
- Temperature gun to check your press is actually reaching its displayed temperature.
Common beginner mistakes to avoid
- Forgetting to mirror the image. Text will come out backwards.
- Printing on the wrong side of the paper. The result will be pale and patchy.
- Using non-sublimation blanks. The ink simply will not bond.
- Skipping the tape. Movement causes ghosting and blurred edges.
- Ignoring blank-specific settings. Ceramics, slates and fabrics all need different times and temperatures.
Building your dye sublimation supplies kit
The easiest way to start is to buy the core consumables together: paper, tape, a PTFE sheet and gloves, plus a small selection of blanks to practise on. Mugs and coasters are forgiving first projects, and once you are confident you can expand into slates, textiles and seasonal ranges.
Ready to stock up? Browse our full range of dye sublimation supplies, from sublimation paper, heat tape and PTFE sheets to heat-resistant gloves and hundreds of blanks, and get everything you need for your first presses in one place.
Tags:
Previous
A4 Size Bag Guide: Totes and Pouches You Can Personalise
Next
Black Mugs for Sublimation: Colour-Changing and Black Inner Styles
Related articles
-
Nov 16 2026
Slate Coasters: How to Make Personalised Photo Coasters
-
Nov 15 2026
How to Print Photos onto Slate at Home Without Ghosting

-
Nov 12 2026