
Here’s a complete, easy-to-follow guide on how to sublimate a Christmas linen Santa stocking with your own design 🎅🧦 — perfect for personalized holiday gifts or shop products!
What You’ll Need
-
Blank sublimation stocking (poly-linen or 100% polyester recommended)
-
Sublimation printer with sublimation ink
-
Sublimation paper
-
Heat press (large flat press preferred)
-
Heat-resistant tape
-
Teflon sheet or parchment paper
-
Lint roller
-
Protective paper (to prevent ink bleed-through)
-
Pressing pillow or foam pad (optional, helps with seams)
Step 1: Prepare Your Design
-
Measure your stocking’s printable area — usually about 8–12 inches wide and 14–18 inches tall, depending on the size.
-
In your design software (Canva, Photoshop, etc.):
-
Set the artboard to match that printable area.
-
Add 3–5 mm bleed beyond the edges to ensure full coverage.
-
Mirror (flip horizontally) your design before printing.
-
-
Print on sublimation paper using sublimation ink and let it dry completely.
Step 2: Prep the Stocking
-
Lint roll the fabric thoroughly to remove dust and fibres.
-
Pre-press the stocking for 5–10 seconds to remove moisture and wrinkles.
-
If it’s lined, insert a piece of protective paper or Teflon sheet inside so ink doesn’t bleed through to the other side.
Step 3: Position Your Transfer
-
Place your printed design face-down on the stocking’s sublimation area.
-
Secure it with heat-resistant tape, especially around curved areas.
-
Make sure the seams or hanging loop aren’t under the press plate — if needed, use a pressing pillow to keep the surface even.
Step 4: Heat Press Settings
For poly-linen or polyester Christmas stockings, use:
| Setting | Value |
|---|---|
| Temperature | 140°C |
| Time180 | 180 seconds |
| Pressure | Medium |
Tips:
-
Always test on a small area first if it’s your first time with that material.
-
Avoid pressing over thick seams or zippers — uneven pressure can cause light areas.
-
Cover with a Teflon sheet or parchment paper to protect your press.
Step 5: Reveal & Finish
-
Carefully lift the press and peel off the sublimation paper immediately while still hot.
-
Allow the stocking to cool flat on a clean surface.
-
Check for vibrant, even color — if any edges look light, it’s usually due to uneven pressure or missed contact.
Optional: Double-Sided Stockings
If your stocking is double-sided:
-
Let side one cool completely first.
-
Then flip, align, and press the second side using the same settings.
-
Always insert fresh protective paper inside between presses to avoid ink transfer.
Pro Tips
-
Material matters: 100% polyester gives the most vibrant results; a poly-linen blend gives a charming rustic/vintage look.
-
Avoid scorch marks: Lower temperature slightly (140°C for 180s) if your fabric yellows.
-
Edge-to-edge designs: Use over-sized prints and trim after pressing for perfect coverage.
Tags:
Previous
How to sublimate a round ceramic ornament
Next
How to sublimate a mouse mat with your design
Related articles
-
May 07 2026
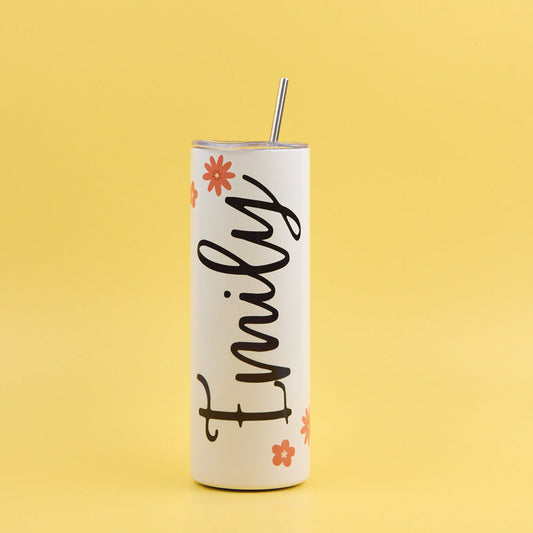
How to Sublimate Stainless Steel Tumblers

-
Apr 20 2026
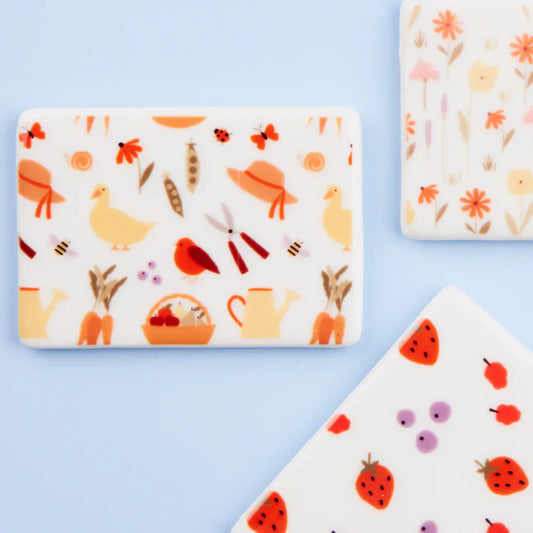
How to Sublimate MDF Coasters
-
Apr 20 2026
How to Sublimate a Ceramic Fridge Magnet
-
Nov 26 2025
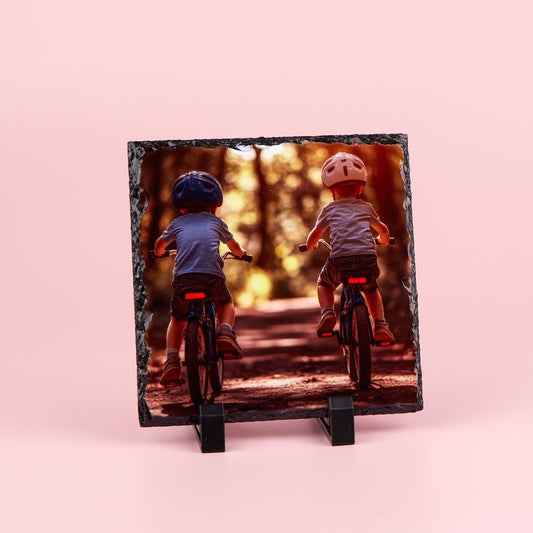
How to Sublimate a Sublimation Photo Slate
-
Nov 26 2025
How to Sublimate a Bowling Bottle
-
Oct 08 2025
How to sublimate a dye sublimation dog bowl
-
Oct 06 2025