
Here’s a complete, easy-to-follow guide on how to sublimate a dye sublimation dog bowl — perfect for custom pet gifts, shop products, or personal keepsakes!
What You’ll Need
-
Blank sublimation dog bowl (ceramic or stainless steel with sublimation coating)
-
Sublimation printer with sublimation ink
-
Sublimation paper
-
Heat-resistant tape
-
Convection oven, or 3D vacuum heat press
-
Silicone wrap or shrink wrap bag
-
Heat-resistant gloves
-
Lint-free cloth or roller
Step 1: Prepare Your Design
-
Measure your bowl’s printable area — each model is different!
-
For example, a ceramic bowl may have a print area around 77cm Deep
17.5cm Diameter, 56cm Circumference - ours come in three different sizes
-
-
In your design software (Canva, Photoshop, etc.):
-
Set your canvas to the bowl’s printable dimensions.
-
Add 3–5 mm bleed for full edge coverage.
-
Mirror (flip horizontally) your design before printing.
-
-
Print your design on sublimation paper using sublimation ink, and let it dry completely.
Step 2: Prep the Bowl
-
Wipe the surface with a lint-free cloth to remove dust, oils, or fingerprints.
-
Make sure it’s completely dry and room temperature.
Step 3: Apply the Design
-
Trim your printed design and wrap it around the outer surface of the bowl so the image faces inward against the coating.
-
Align carefully — ensure it’s level all the way around.
-
Secure tightly with heat-resistant tape to prevent movement.
-
Place you bowl into a shrink wrap bag if using an oven or wrap the outside with a silicone wrap.
Step 4: Heat Press Settings
The settings depend on your press method and bowl type:
| Press Type | Temperature | Time | Notes |
|---|---|---|---|
| 3D Vacuum Press | 190°C (375°F) | 6–8 minutes | Best for full-wrap ceramic bowls |
| Convection Oven | 180°C | 13–14 minutes | Use shrink wrap to hold transfer tight |
Tips:
-
Apply medium pressure — too light and colors fade; too heavy and ceramic may crack.
-
Always make sure the bowl is of room temperature before pressing
-
Never leave the bowl unattended while heating.
Step 5: Cool & Finish
-
Carefully remove from press with heat-resistant gloves.
-
Peel off paper immediately (hot peel) to prevent ghosting.
-
Allow to cool naturally — don’t submerge in water (ceramic may crack).
-
Once cool, your custom dog bowl is ready to use or gift!
Extra Tips
-
Material check: Only sublimation-coated ceramics or stainless steel will accept the ink.
-
Avoid the inner surface — sublimation coatings are only applied on the exterior.
-
Colour consistency: For darker designs, slightly increase press time by 30–60 seconds.
-
Test first: Every bowl’s thickness and coating can affect the final colour.
Tags:
Previous
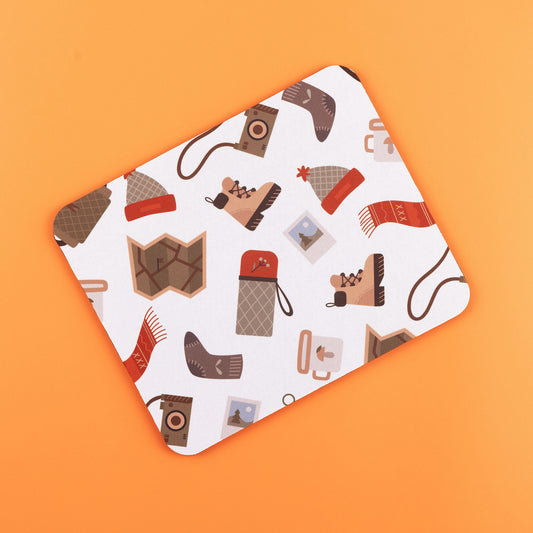
How to sublimate a mouse mat with your design
Next
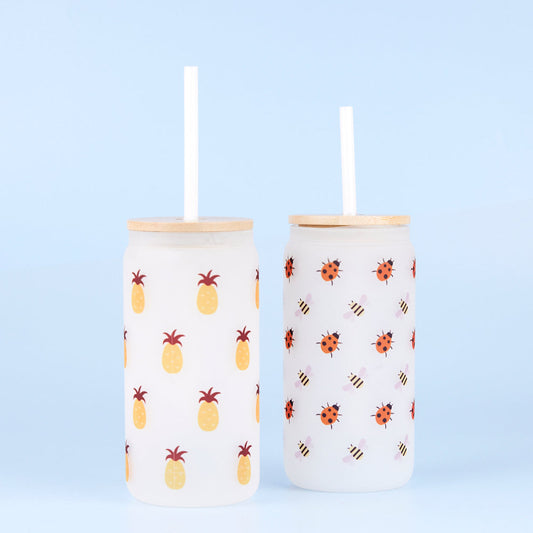
How to sublimate a 18oz Frosted Glass Tumbler with Bamboo Lid
Related articles
-
May 07 2026
How to Sublimate Stainless Steel Tumblers

-
Apr 20 2026
How to Sublimate MDF Coasters
-
Apr 20 2026
How to Sublimate a Ceramic Fridge Magnet
-
Nov 26 2025
How to Sublimate a Sublimation Photo Slate
-
Nov 26 2025
How to Sublimate a Bowling Bottle
-
Oct 06 2025