
If you're looking to create high quality personalised products, ceramic fridge magnets are one of the easiest and most profitable sublimation blanks to start with.
In this guide, we’ll show you exactly how to sublimate a ceramic fridge magnet, including recommended settings, tips for perfect prints, and common mistakes to avoid.
What You’ll Need
Before you start, make sure you have the following:
- Ceramic sublimation fridge magnet blank (available to purchase here: https://www.dyesublimationstore.co.uk/products/ceramic-rectangle-fridge-magnet)
- Sublimation printer & ink
- Sublimation paper
- Heat press (clam shell recommended)
- Heat-resistant tape
- Protective paper or Teflon sheet
- Optional: silicone mat (for even pressure)
Ceramic magnets are specially coated to accept sublimation ink, allowing for vibrant, long-lasting designs with excellent colour depth and clarity.
About the Ceramic Fridge Magnet
These rectangular ceramic magnets are ideal for personalisation and gifting.
Key features:
- Glossy white sublimation coating for vibrant prints
- Durable ceramic material
- Approx size: 7cm x 5cm
- Print area: approx 4.5cm x 6.7cm
- Magnet backing applied after pressing
They’re perfect for:
- Personalised photo gifts
- Promotional items
- Seasonal products (Christmas, weddings, etc.)
The glossy finish enhances colour vibrancy and sharpness, making your designs stand out.
Step 1: Create Your Design
- Set your artwork size to match the print area (approx 4.5cm x 6.7cm)
- Use high-resolution images (300 DPI recommended)
- Mirror your design before printing
💡 Tip: Use bold colours and contrast - ceramic blanks produce rich, vibrant results.
Step 2: Print Your Transfer
- Print your mirrored design onto sublimation paper
- Allow ink to dry briefly before handling
Step 3: Prepare the Magnet
- Ensure the ceramic blank is at room temperature before pressing
- Place your printed design face-down onto the magnet
- Secure with heat-resistant tape
Step 4: Heat Press Settings
Recommended starting settings:
- Temperature: 180°C
- Time: 180 seconds
- Pressure: Light to medium
These settings may vary slightly depending on your press, so always test first.
Step 5: Press the Magnet
- Place the magnet in your heat press
- Use protective paper or a Teflon sheet
- Close press and apply pressure
For best results:
- Use a silicone mat if your press struggles with even pressure
- Ensure full contact across the surface
Step 6: Remove & Cool
- Carefully remove the magnet using heat-resistant gloves
- Peel away the paper immediately
- Allow to cool fully
Step 7: Attach the Magnet Backing
Once cooled:
- Apply the self-adhesive magnet to the back
- Press firmly to secure
Most ceramic blanks come with a separate adhesive magnet for easy application after pressing.
Pro Tips for Perfect Results
✔ Use a silicone mat for even pressure on slightly uneven ceramic surfaces
✔ Avoid moisture - always store blanks in a dry area
✔ Don’t overpress - this can dull colours
✔ Test settings with your specific heat press
Common Mistakes to Avoid
1. Not mirroring your design
→ Results in reversed images
2. Uneven pressure
→ Causes faded or patchy prints
3. Applying magnet before pressing
→ Always attach AFTER sublimation
4. Incorrect temperature/time
→ Leads to dull or blurry prints
Why Choose Ceramic Magnets?
Ceramic sublimation blanks offer:
- Premium feel and weight
- Excellent colour reproduction
- Long-lasting durability
- A professional, glossy finish
They strike a perfect balance between quality and affordability, making them ideal for resale products.
Final Thoughts
Sublimating ceramic fridge magnets is a simple, low-cost way to create high-margin personalised products.
Once you’ve dialled in your settings, you can easily scale production for:
- Etsy shops
- Online Stores
- Corporate gifts
- Event merchandise
Tags:
Related articles
-
May 07 2026
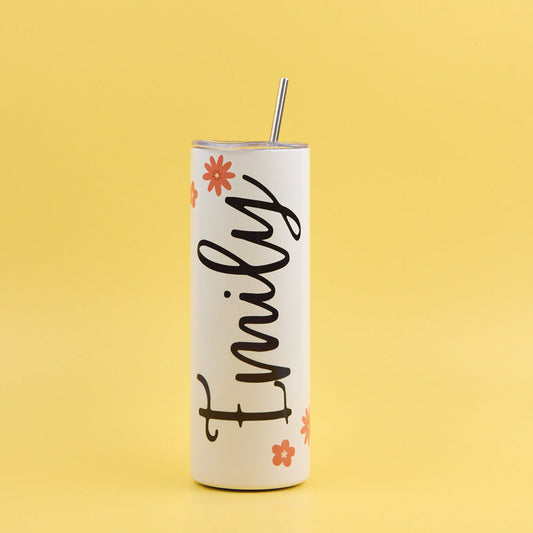
How to Sublimate Stainless Steel Tumblers

-
Apr 20 2026
How to Sublimate MDF Coasters
-
Nov 26 2025
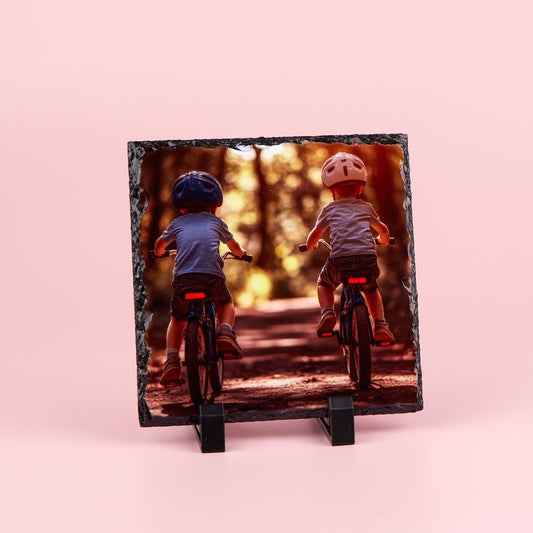
How to Sublimate a Sublimation Photo Slate
-
Nov 26 2025
How to Sublimate a Bowling Bottle
-
Oct 08 2025
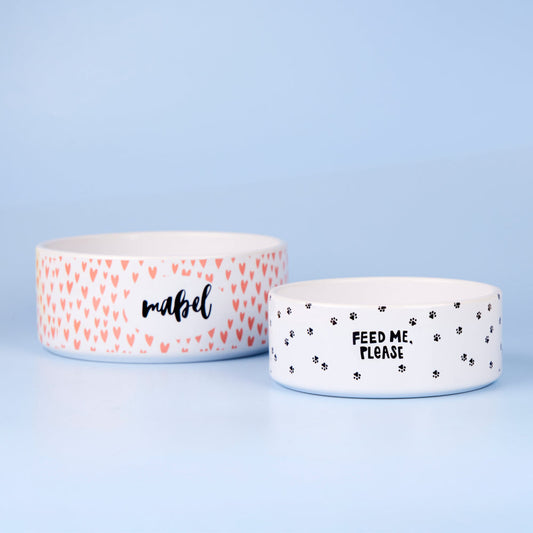
How to sublimate a dye sublimation dog bowl
-
Oct 06 2025