
What You Need
-
Sublimation printer + sublimation ink
-
Sublimation paper
-
Heat-resistant tape
-
Shrink wrap (optional but recommended for curved bottles)
-
Heat gun (if using shrink wrap)
-
Convection oven OR tumbler heat press (with curve-compatible attachments)
-
Heat-resistant gloves
Step-by-Step Instructions
1. Prepare Your Design
-
Measure the bottle’s printable area. Bowling bottles taper, so a full wrap may need slight trimming.
-
Print your design on sublimation paper (mirrored).
-
Let the ink dry fully before taping.
2. Prep the Bottle
-
Ensure the bottle is polymer-coated for sublimation—most bowling bottles are, but check.
-
Wipe the surface with alcohol to remove oils.
3. Apply the Sublimation Print
Option A — Taped Wrap (for heat press use)
-
Wrap the print around the bottle tightly.
-
Tape the seam extremely well—curves can cause lifting.
-
Tape around the top and bottom edges to keep it flat against the surface.
Option B — Shrink Wrap (best for ovens & curved surfaces)
-
Wrap and lightly tape the design so it doesn’t shift.
-
Slide the shrink wrap sleeve over the bottle.
-
Use a heat gun gently until the sleeve tightens evenly.
4. Heat Settings
If using a convection oven:
-
Temperature: 360°F / 182°C
-
Time: 6–8 minutes
-
Rotate halfway through for even heating (unless using a turner).
If using a tumbler heat press:
-
Temperature: 350–360°F (175–182°C)
-
Time: 60–120 seconds per section
-
Because of the bottle’s curves, you may need press-rotate-press in 2–3 sections.
5. Remove Print
-
Use heat gloves to take the bottle out.
-
Carefully remove tape/shrink wrap while hot for the best release.
6. Cool
-
Allow to air-cool.
-
Inspect the wrap—if any faded areas appear, it usually means:
-
Too little pressure
-
Gaps in contact
-
Not enough heat-time
-
🌟 Tips for Best Results
-
Shrink wrap gives more even pressure on curved surfaces.
-
Don’t overheat—longer than 8–9 minutes can cause fading or browning.
-
Ensure your image fits the curves—avoid placing critical details near the tight neck area.
-
For full wraps, overlap your seam slightly to avoid a white line.
Tags:
Previous
How to sublimate a 18oz Frosted Glass Tumbler with Bamboo Lid
Next
How to Sublimate a Sublimation Photo Slate
Related articles
-
May 07 2026
How to Sublimate Stainless Steel Tumblers

-
Apr 20 2026
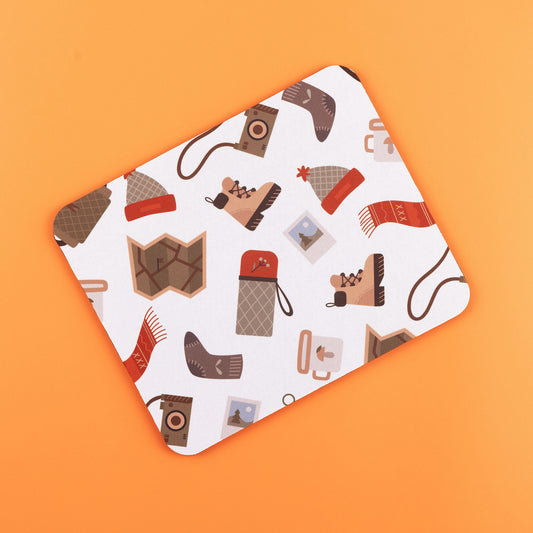
How to Sublimate MDF Coasters
-
Apr 20 2026
How to Sublimate a Ceramic Fridge Magnet
-
Nov 26 2025
How to Sublimate a Sublimation Photo Slate
-
Oct 08 2025
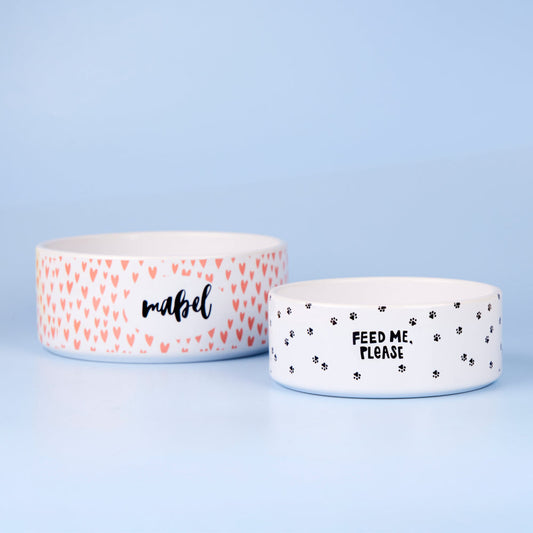
How to sublimate a dye sublimation dog bowl
-
Oct 06 2025